Create a new website and right click on
solution explorer >
add new Item
Select Crystal Report
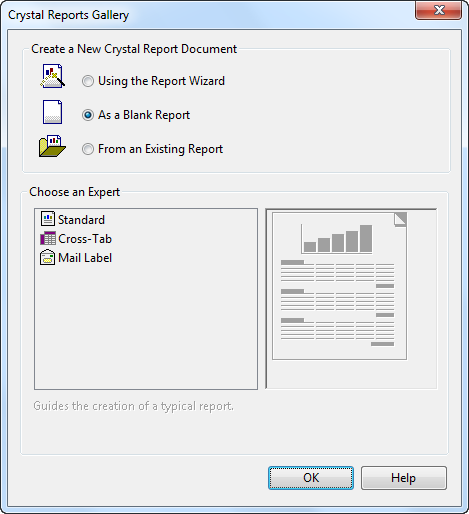
In the dialog box choose blank report
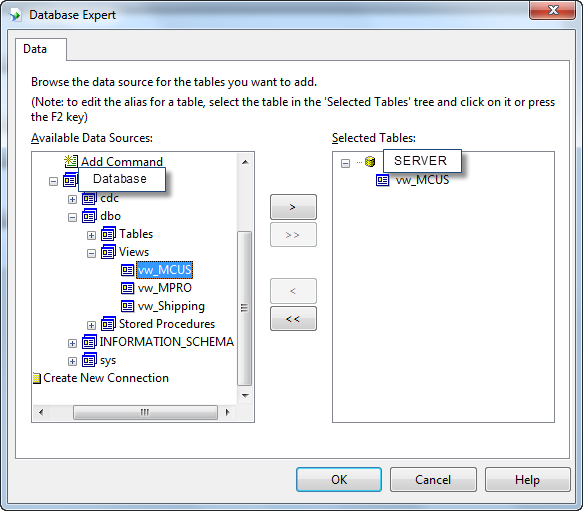
Now click on Crystal Report Menu in Visual Studio 2010 and select Database Expert
Select OLE DB under “Create New Connection” and select Data Provider.
Click on Next, In Next Screen provide Server name and credential. And select Database.
Now from Database field, drag and drop fields as required in the report.
Add New ASPX Page and drag Crystal Report viewer on the form.
Click on smart tag of Report Viewer and choose report source and click on finish.
Here is the HTML markup.
<CR:CrystalReportViewer ID=”CrystalReportViewer1″ runat=”server”
AutoDataBind=”True” GroupTreeImagesFolderUrl=”” Height=”1202px”
ReportSourceID=”CrystalReportSource1″ ToolbarImagesFolderUrl=””
ToolPanelWidth=”200px” Width=”1104px” />
<CR:CrystalReportSource ID=”CrystalReportSource1″ runat=”server”>
<Report FileName=”CrystalReport.rpt”>
</Report>
</CR:CrystalReportSource>
Add following code in Page_load,
protected void Page_Load(object sender, EventArgs e)
{
ReportDocument crystalReport = new ReportDocument();
crystalReport.Load(Server.MapPath(“CrystalReport.rpt”));
CrystalReportViewer1.ReportSource = crystalReport;
}


